Welcome to the world of breadboarding, where the art of electronic prototyping comes to life.
In this comprehensive guide, we will delve into the intricate details and techniques required to master breadboard projects with ease.
Whether you're an absolute beginner or a seasoned enthusiast, this article is designed to provide you with precise instructions and expert insights on understanding breadboard basics, wiring techniques, jump wire tips, prototyping circuits, and component placement.
Prepare to embark on a journey that will empower your creativity and set your ideas free.
Key Takeaways
- Understanding the basics of a breadboard and its purpose in electronics prototyping.
- The importance of planning the circuit layout and using appropriate wiring techniques and best practices.
- Tips and tricks for selecting and using jumper wires effectively.
- The process of prototyping circuits on a breadboard, including component placement and organized wiring.
Understanding Breadboard Basics
Understanding the basics of a breadboard is essential for beginners looking to master breadboard projects. A breadboard, also known as a prototyping board or solderless breadboard, is a fundamental tool in electronics. It allows users to quickly and easily create temporary circuits without the need for soldering or permanent connections.
The layout of a typical breadboard consists of rows and columns of interconnected holes where components can be inserted and connected using jumper wires. The board is divided into two sections: the terminal strips and the middle section called the bus strips. The terminal strips provide power and ground connections, while the bus strips allow for easy distribution of signals across multiple points on the board.
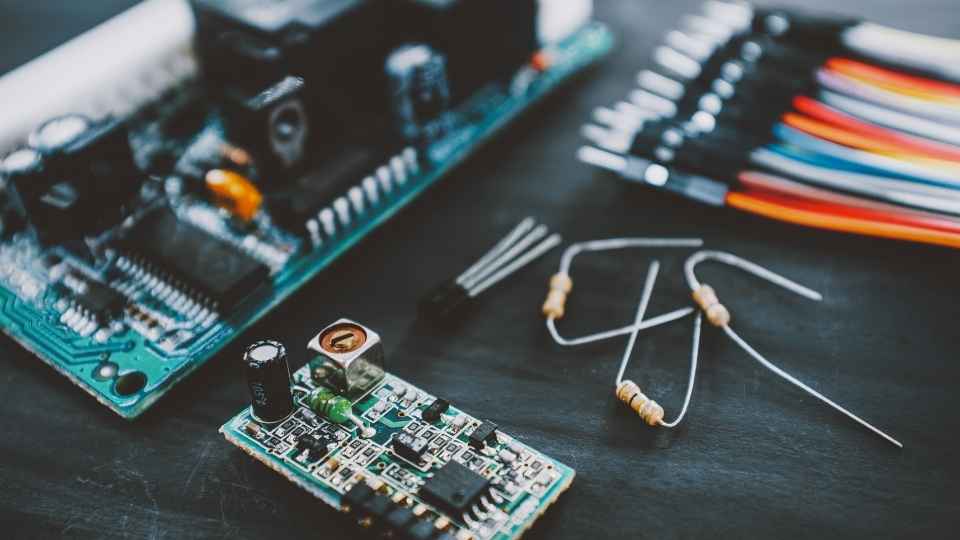
To use a breadboard effectively, it's crucial to understand how its internal connections work and how to properly insert components. Familiarity with basic electronic components such as resistors, capacitors, LEDs, and integrated circuits (ICs) is also necessary.

Mastering these breadboard basics empowers beginners with the freedom to experiment with various circuit designs and build complex prototypes without any permanent commitment or risk of damaging expensive components.
Wiring Techniques and Best Practices
Effective wiring techniques are essential in ensuring the proper functioning and reliability of electronic circuits. When working with breadboard projects, it is crucial to follow best practices to achieve optimal results.
Firstly, it is important to plan the circuit layout before starting the wiring process. This involves identifying the components and their connections, allowing for efficient organization of wires on the breadboard.
Additionally, using jumper wires that are of appropriate length helps minimize signal interference and reduces clutter on the board. It is also recommended to use color-coded wires for easy identification and troubleshooting purposes.
Furthermore, keeping wires neat and tidy by avoiding excessive bending or overlapping prevents potential short circuits or accidental disconnections.
Lastly, double-checking all connections after wiring completion ensures accuracy and minimizes errors during testing and debugging phases.
Jump Wire Tips and Tricks
Utilizing appropriate lengths and colors of jumper wires is essential for minimizing signal interference and facilitating troubleshooting when working with breadboard circuits.
Jumper wires are used to connect different components on a breadboard, allowing the flow of electrical signals between them.
When selecting jumper wires, it is important to consider their length. Using excessively long wires can lead to signal degradation due to increased resistance and capacitance. On the other hand, using excessively short wires may result in difficulty accessing the circuit for testing or modifications.
Furthermore, using different colors for jumpers can help organize and differentiate connections, making it easier to trace and troubleshoot any issues that may arise during the prototyping process.
Prototyping Circuits on a Breadboard
When prototyping circuits on a breadboard, it is important to carefully plan and arrange the components to ensure proper functionality and ease of troubleshooting.
The first step is to determine the circuit's schematic diagram, which serves as a blueprint for component placement.
Start by placing the power supply components such as resistors, capacitors, and voltage regulators near one end of the breadboard.
Next, position integrated circuits (ICs) in a row with their pins aligned vertically. Connect each pin to its corresponding component using jump wires or jumper cables.
It is crucial to keep the wiring neat and organized to prevent signal interference and facilitate debugging.
Additionally, labeling each connection can make it easier to identify problems during testing or modifications.
Mastering Component Placement on a Breadboard
To optimize circuit functionality and ease troubleshooting, careful planning and strategic arrangement of components on a breadboard are essential. Here are five key considerations for mastering component placement:
Group related components: Arrange components that work together in close proximity to minimize signal interference and improve overall circuit performance.
Consider power supply: Place power sources and decoupling capacitors near the relevant sections of your circuit to ensure stable voltage levels and reduce noise.
Use jumper wires effectively: Use short jumper wires to connect components within a small area, reducing clutter and simplifying troubleshooting.
Label connections: Clearly label connections using color-coded wires or markers to easily identify signals and avoid confusion during testing or modifications.
Plan for future expansion: Leave space on the breadboard for additional components or modules that may be added later, ensuring flexibility for future project iterations.
Frequently Asked Questions
How Can I Troubleshoot Common Issues With Breadboard Connections?
To troubleshoot common issues with breadboard connections, it is essential to identify potential sources of error such as loose or incorrect wiring, faulty components, or inadequate power supply. Analyzing and rectifying these factors can help ensure proper functionality and reliable circuit connections.
What Are Some Common Mistakes to Avoid When Working With Breadboards?
When working with breadboards, it is important to avoid common mistakes such as improper wire placement, incorrect component orientation, and excessive bending of the wires. These errors can lead to faulty connections and hinder project success.
Are There Any Safety Precautions I Should Take While Working With Breadboards?
Safety precautions should be taken when working with breadboards to minimize risks. These include wearing appropriate protective gear, ensuring the power source is turned off before handling components, and avoiding contact with live circuits.
Can I Reuse Components From One Breadboard Project to Another?
Yes, components from one breadboard project can be reused in another. However, it is important to ensure compatibility and proper handling of the components to avoid any damage or malfunctioning in the new project.
How Do I Choose the Appropriate Breadboard Size for My Project?
When choosing the appropriate breadboard size for a project, consider the number of components needed, their sizes, and the complexity of the circuit. A larger breadboard provides more space for expansion and easier troubleshooting.
 Basic Electronics ConceptsEssential ToolsCircuit Design BasicsMicrocontrollersDIY Electronics ProjectsRoboticsPrivacy PolicyTerms And Conditions